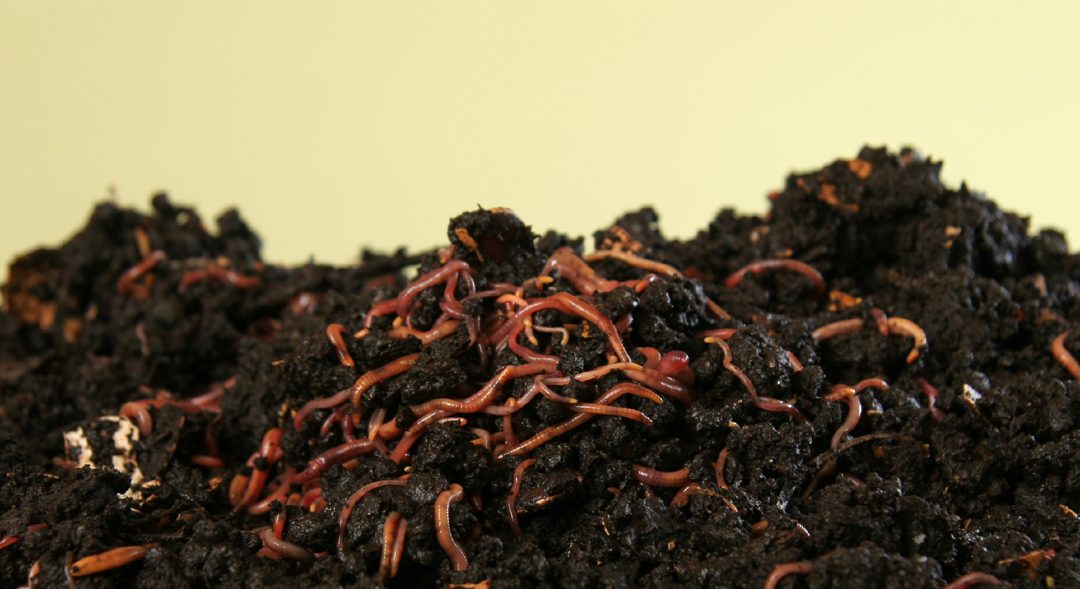
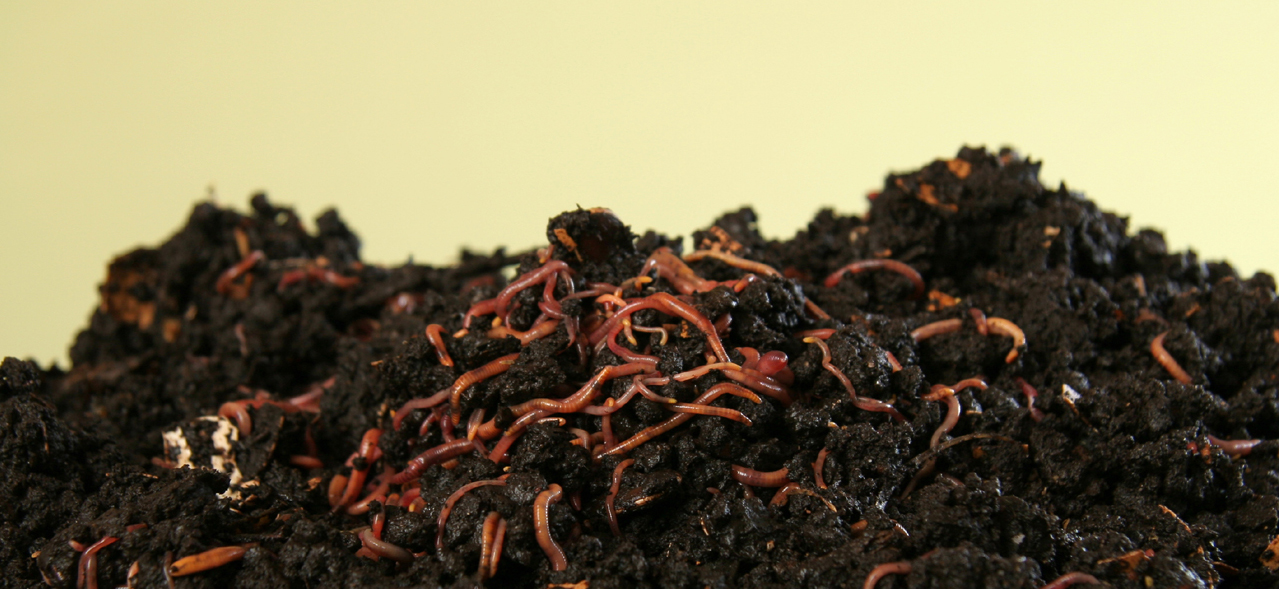
If you want to super charge the power of your worm castings as a soil amendment, you can do so by brewing worm compost tea. Fresh worm castings from your vermiculture bin are full of beneficial microorganisms, and they will boost the biological activity of any soil you add them to. When you make the same castings into worm tea, you dramatically increase the number of those microorganisms that you can add to your garden.
How to Harvest Your Worm Castings
Before you can turn your worm castings into worm tea, you need to remove them from your composter. Allow your worms to work through most of the food in your bin, and then place new food only in one quadrant of the bin. The worms will congregate around the new food. Once they are gathered in just one part of the bin, you can easily remove castings from the other areas of your composter. To make 5 gallons of worm tea, you’ll need to harvest between 1 to 3 cups of castings.
What Equipment Do You Need To Make Worm Tea?
All you need to brew your worm tea is a five gallon bucket, a pumice stone areator of the type used in fish tanks, your worm castings, and a source of carbohydrates to nourish the microorganisms in the tea. I like to use molasses as my source of carbohydrate, but sugar or corn starch can also be used.
How to Brew Worm Tea
I use my city tap water to brew my worm tea, and that means that I need to remove any residual chlorine from the water before I begin brewing. City water is treated with chlorine to make it safe for drinking, but chlorine will kill of the microogranisms you are trying to propogate in your tea. One option to eliminate chlorine is to filter your tap water through activated charcoal, but another easier technique is to leave the bucket in the sun with the aerator running for one day. The combination of areation and UV light from the sun will quickly cause any chlorine present in the water to evaporate.
Once your water is chlorine free, it’s time to start brewing! Add your worm castings to your bucket of water, along with 2 tablespoons of molasses (whatever carbohydrate you prefer). Mix the contents of the bucket vigorously, and place the pumice stone aerator at the bottom of the bucket. Switch your araetor on, and you’re ready to go. The location where you place your tea to brew should be between 55 to 85 degrees fahrenheit, and for optimal brewing you want the temperature to be between 65 to 75 degrees. Now all you need to do is wait.
You’ve Brewed Your Worm Tea, Now What?
You can use your tea after one day, but for optimal results allow your brew to bubble for three full days. Application of your tea is fairly straightforward. You can pour it straight from your bucket onto whatever soil you want to improve. You can also add it to a watering can to make application easier, or even add it to a garden sprayer to disperse it over a wider area. You may want to strain your worm tea through a cloth, to remove any solid remnants from the castings. If using the sprayer, tea can be applied at the base of plants, as well as to the foliage. Tea acts as a probiotic for your plants, increasing the number of symbiotic microorganisms around the plants roots. These micro organisms help fend off harmful bacteria and fungi, and also make it easier for plants to absorb nutrients from the soil.
Brewing worm tea is a simple and powerful way to supercharge the castings that your little worms are making for you. If you haven’t tried it yet, get out and brew some tea, your soil will thank you. I’d love to hear about your experiences brewing worm tea, message me on twitter @GoGreenCompost with your tips, tricks, techniques, and stories!